Selected colour swatches
You can order up to 20 colour swatches
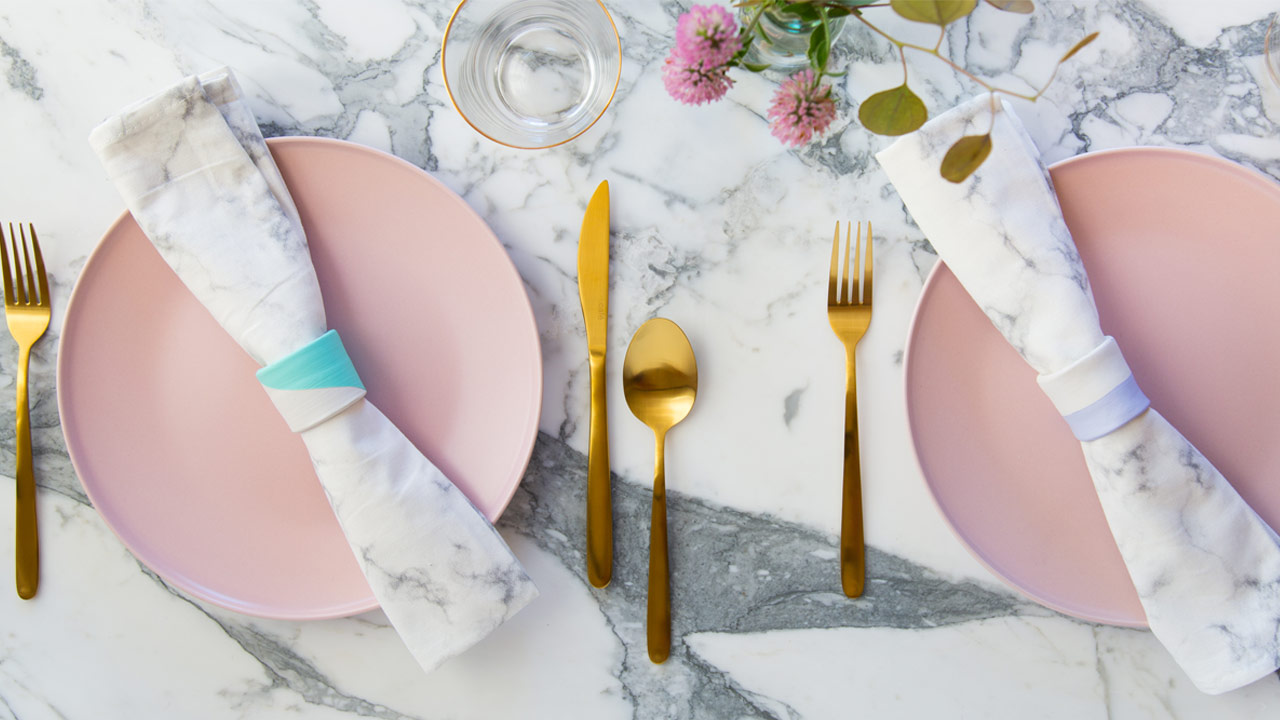
DIY Napkin Rings
After a little weekend project? Giving your napkin rings a splash of colour is the perfect way to spark your DIY spirit and conquer your Fear of Mucking Up. Follow our handy guide and add a splash of colour to your table.

Step One
First things first: let’s get your napkin rings together. It’s important to pick ones with a smooth and matt base. Ideally, your rings will be non-polished wood or clay. If you like working with your hands, you might like to make your napkin rings yourself, using air-dry clay.

Step Two
Now to pick the right brushes. You’ll need something light and small, for easy use.

Step Three
If you’d like your rings to have a pattern, perhaps a lovely two-tone look like ours, then you’ll need to mark out the designs using painter’s tape.

Step Four
When you’re ready to paint, begin with the taped side facing down, so you can work without turning the ring and risking a smudge. Let your first coat dry for two hours before going in for a second. Once that’s done, remove the tape while the paint’s still wet, so you don’t peel off any paint accidentally.
And that’s your rings done. FOMU never stood a chance.
Looking for more DIY projects? Well, you’re sure to find something you’ll love here.