Selected colour swatches
You can order up to 20 colour swatches
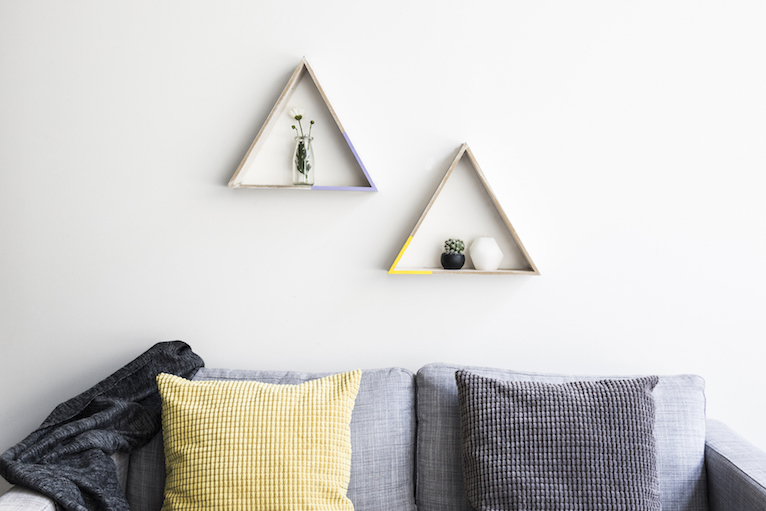
DIY Triangle Shelves
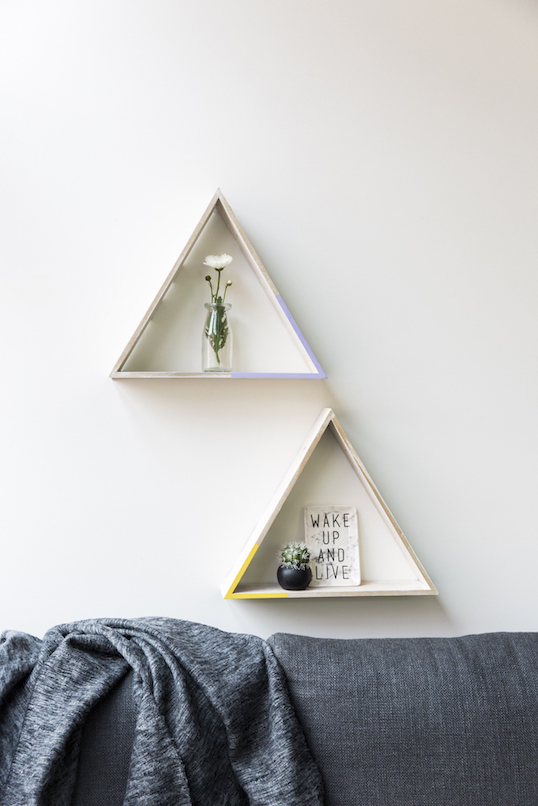
Triangle shelves add character and quirky charm to your hallway, bedroom or living space - and they're fun and easy to make! Follow the steps below to create your very own, your way.
Step One
Once you’ve decided on your colours – we chose Sweet Hyacinth and High Alert - you can pick up your small sample pots from Bunnings or use any left over paint you may have from a previous project. You then need some newspaper to protect your surface, tape, paintbrushes, and your choice of shelves.
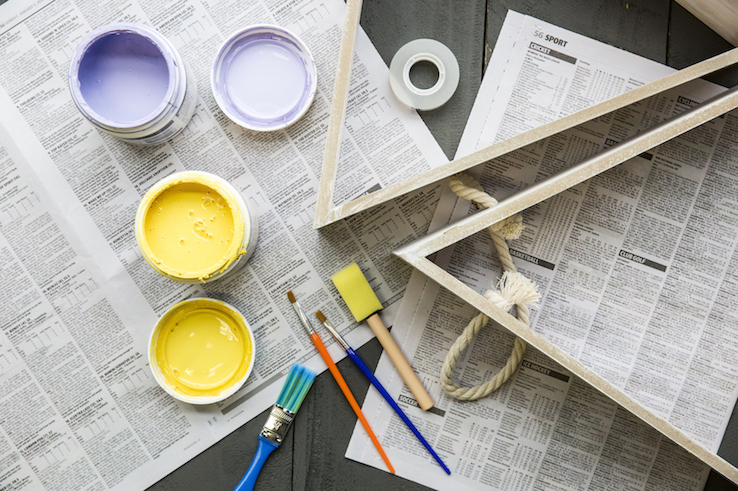
Step Two
Lay your triangle shelves down and use tape to mask the edges that you want to paint. This will ensure you don’t go over the areas you want to leave unpainted. Tip: measure each triangle so they’re both symmetrical and evenly spaced.
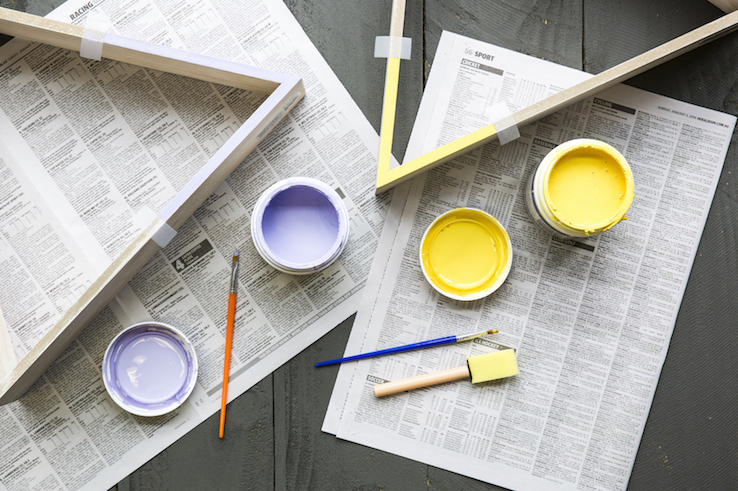
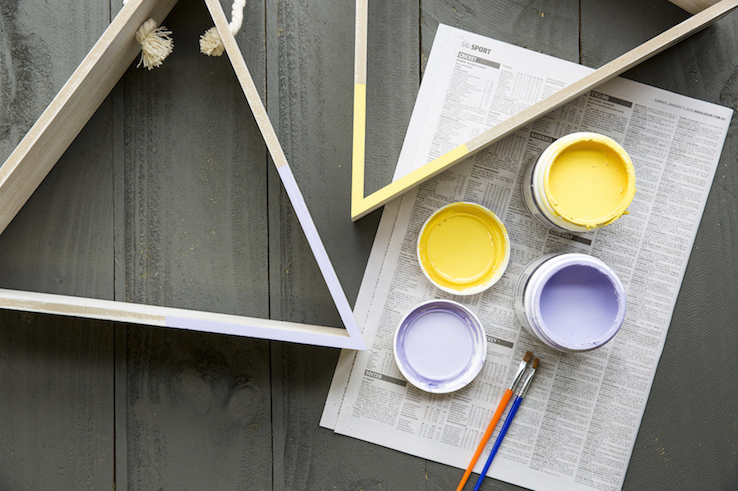
Step Three
Getting painting! Allow paint to dry for minimum 1 hour, as they will be quite fiddly when hanging and placing décor onto them, you want to make sure they are as dry as possible.
Drying duration will also be determined by how much you paint – for this project, we just painted the front, so we left it for 1 hour.
Step Four
Now you can get decorating!
These shelves won’t hold much weight, so they are best used for little decorative pieces such as candles and trinkets or keys. Contrast your décor with the colours in your room –we chose to use the pastel purple and lemon in the frames to pair with the cushions in the living space.
Share your DIY tips and photos with us on Instagram @British Paints, using #BritishPaints